
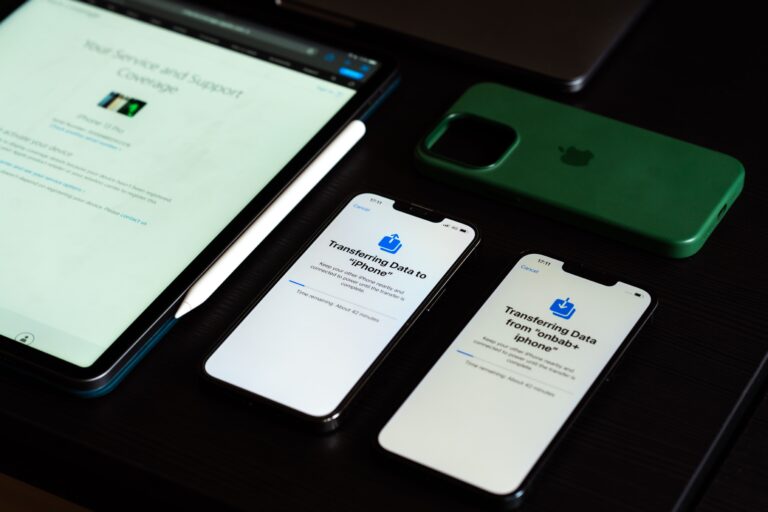
Getting a new iPhone is exciting until you realize that several years of family photographs, holiday videos, birthday recordings, and everyday snapshots are still sitting on your old device. Moving everything over sounds straightforward, but an incomplete backup or an interrupted transfer can leave gaps in your photo library.
The easiest ways to transfer photos and videos to a new iPhone are through Apple Quick Start, iCloud Photos, or a computer backup. Each method works slightly differently, and the right choice depends on the size of your library, your internet connection, and whether you still have access to your old phone.
The most important rule is simple: never erase your old iPhone until you have verified that your photos and videos are accessible elsewhere.
What to Check Before Transferring Photos to a New iPhone

Spend a few minutes preparing your old device before turning on the new one. A little preparation can save hours of troubleshooting later.
Open Settings > General > iPhone Storage and check how much space your photos and videos occupy. This is particularly important if you regularly record in 4K, take ProRAW photographs, or keep years of videos on your device.
Next, check whether iCloud Photos is enabled and whether your library has finished syncing. Some of your original photographs may already be stored in the cloud rather than on the phone itself.
Before starting the transfer, make sure you have:
- Access to your Apple Account and password.
- A recent backup of your old iPhone.
- Enough available storage on your new device for locally stored content.
- A stable Wi-Fi connection.
- Chargers for both phones.
- An independent copy of particularly important photographs and videos.
If you are trading in your old iPhone, complete the transfer at home whenever possible. You do not want to discover that your wedding photographs are missing after handing over the original device.
Which Method Should You Use to Transfer Photos and Videos?
Apple provides several ways to move content between iPhones. There are also alternatives for people who only want to transfer selected photographs rather than their entire phone.
For most people upgrading from one iPhone to another, Quick Start is the most convenient starting point. However, if your entire photo library is already synchronized with iCloud, moving it may require little more than signing in to your Apple Account.
Transfer Photos and Videos Using Apple Quick Start
Quick Start allows you to set up a new iPhone using your existing device. Instead of manually moving photographs, videos, applications, and settings separately, you can migrate supported content during the initial setup. Follow Apple’s Quick Start instructions if you need the latest setup details.
Here is how to use it:
- Enable Wi-Fi and Bluetooth on your old iPhone.
- Turn on your new iPhone and place it beside the old one.
- Follow the Quick Start instructions displayed on the screen.
- Enter your old device’s passcode when prompted.
- Select the option to transfer data directly from your previous iPhone.
- Keep both devices nearby and connected to power until the migration finishes.
Apple also supports wired migration using compatible cables or adapters, which is worth considering if you have a particularly large photo library.
Do not assume the transfer has finished simply because your new iPhone displays its home screen. Depending on your settings, some content may continue downloading or synchronizing afterward.
How to Transfer Photos to a New iPhone Using iCloud
If you have been using iCloud Photos for several years, your photo library may already be available independently of your old device.
On your new iPhone, sign in using the same Apple Account. Open Settings > your name > iCloud > Photos and enable Sync this iPhone. Apple’s iCloud Photos guide explains how syncing and storage optimization work.
Your photographs and videos should gradually appear in the Photos app.
One advantage of iCloud Photos is that it stores media in its original format and at full resolution. That includes Live Photos, HEIF images, RAW photographs, slow-motion recordings, and 4K videos.
You can also choose between two storage settings:
- Optimize iPhone Storage: Keeps smaller versions on your iPhone when additional space is needed, while originals remain in iCloud.
- Download and Keep Originals: Stores full-resolution versions on your device, provided sufficient space is available.
Downloading a large library can take considerable time. Connect your iPhone to power and Wi-Fi, and allow synchronization to finish before checking for missing content.
Remember that iCloud Photos is a synchronization service. Deleting a photograph from your old iPhone while synchronization is enabled can also remove it from your new one.
How to Transfer Photos Without Paying for iCloud Storage
A large photo library can easily exceed the free storage available with an Apple Account. However, you do not necessarily need to purchase an iCloud subscription just to switch phones.
Apple offers temporary iCloud storage to eligible customers who purchase a new iPhone and lack sufficient space for a device backup.
On your old iPhone, navigate to Settings > General > Transfer or Reset iPhone. Under Prepare for New iPhone, tap Get Started and follow the instructions.
Apple gives you 21 days to restore the temporary backup, with an option to request additional time if necessary. Once restored, the backup remains available for another seven days.
Keep in mind that photos already synchronized with iCloud Photos are not included in a standard device backup. Make sure those images are independently accessible before proceeding.
Use a Computer Backup to Move Your Photo Library
A computer backup is a practical alternative for anyone with an unreliable internet connection or a preference for local data storage.
Mac users can create a backup through Finder, while Windows users can use the Apple Devices app or iTunes on compatible older systems.
The process is fairly straightforward:
- Connect your old iPhone to your computer.
- Open the appropriate device management application.
- Select your iPhone and create a local backup.
- Disconnect the old device once the backup finishes.
- Connect your new iPhone and select Restore Backup.
- Choose the correct backup and wait for the restoration to complete.
There is one limitation worth knowing. Computer backups do not include photographs already synchronized with iCloud or certain media previously synced from a computer.
If you want a separate archive of your photographs and videos, manually export the original files to your computer or an external drive.
What If Some Photos and Videos Are Missing After the Transfer?
You might open your new iPhone and discover that most photographs transferred successfully, but an entire vacation album or several important recordings are missing.
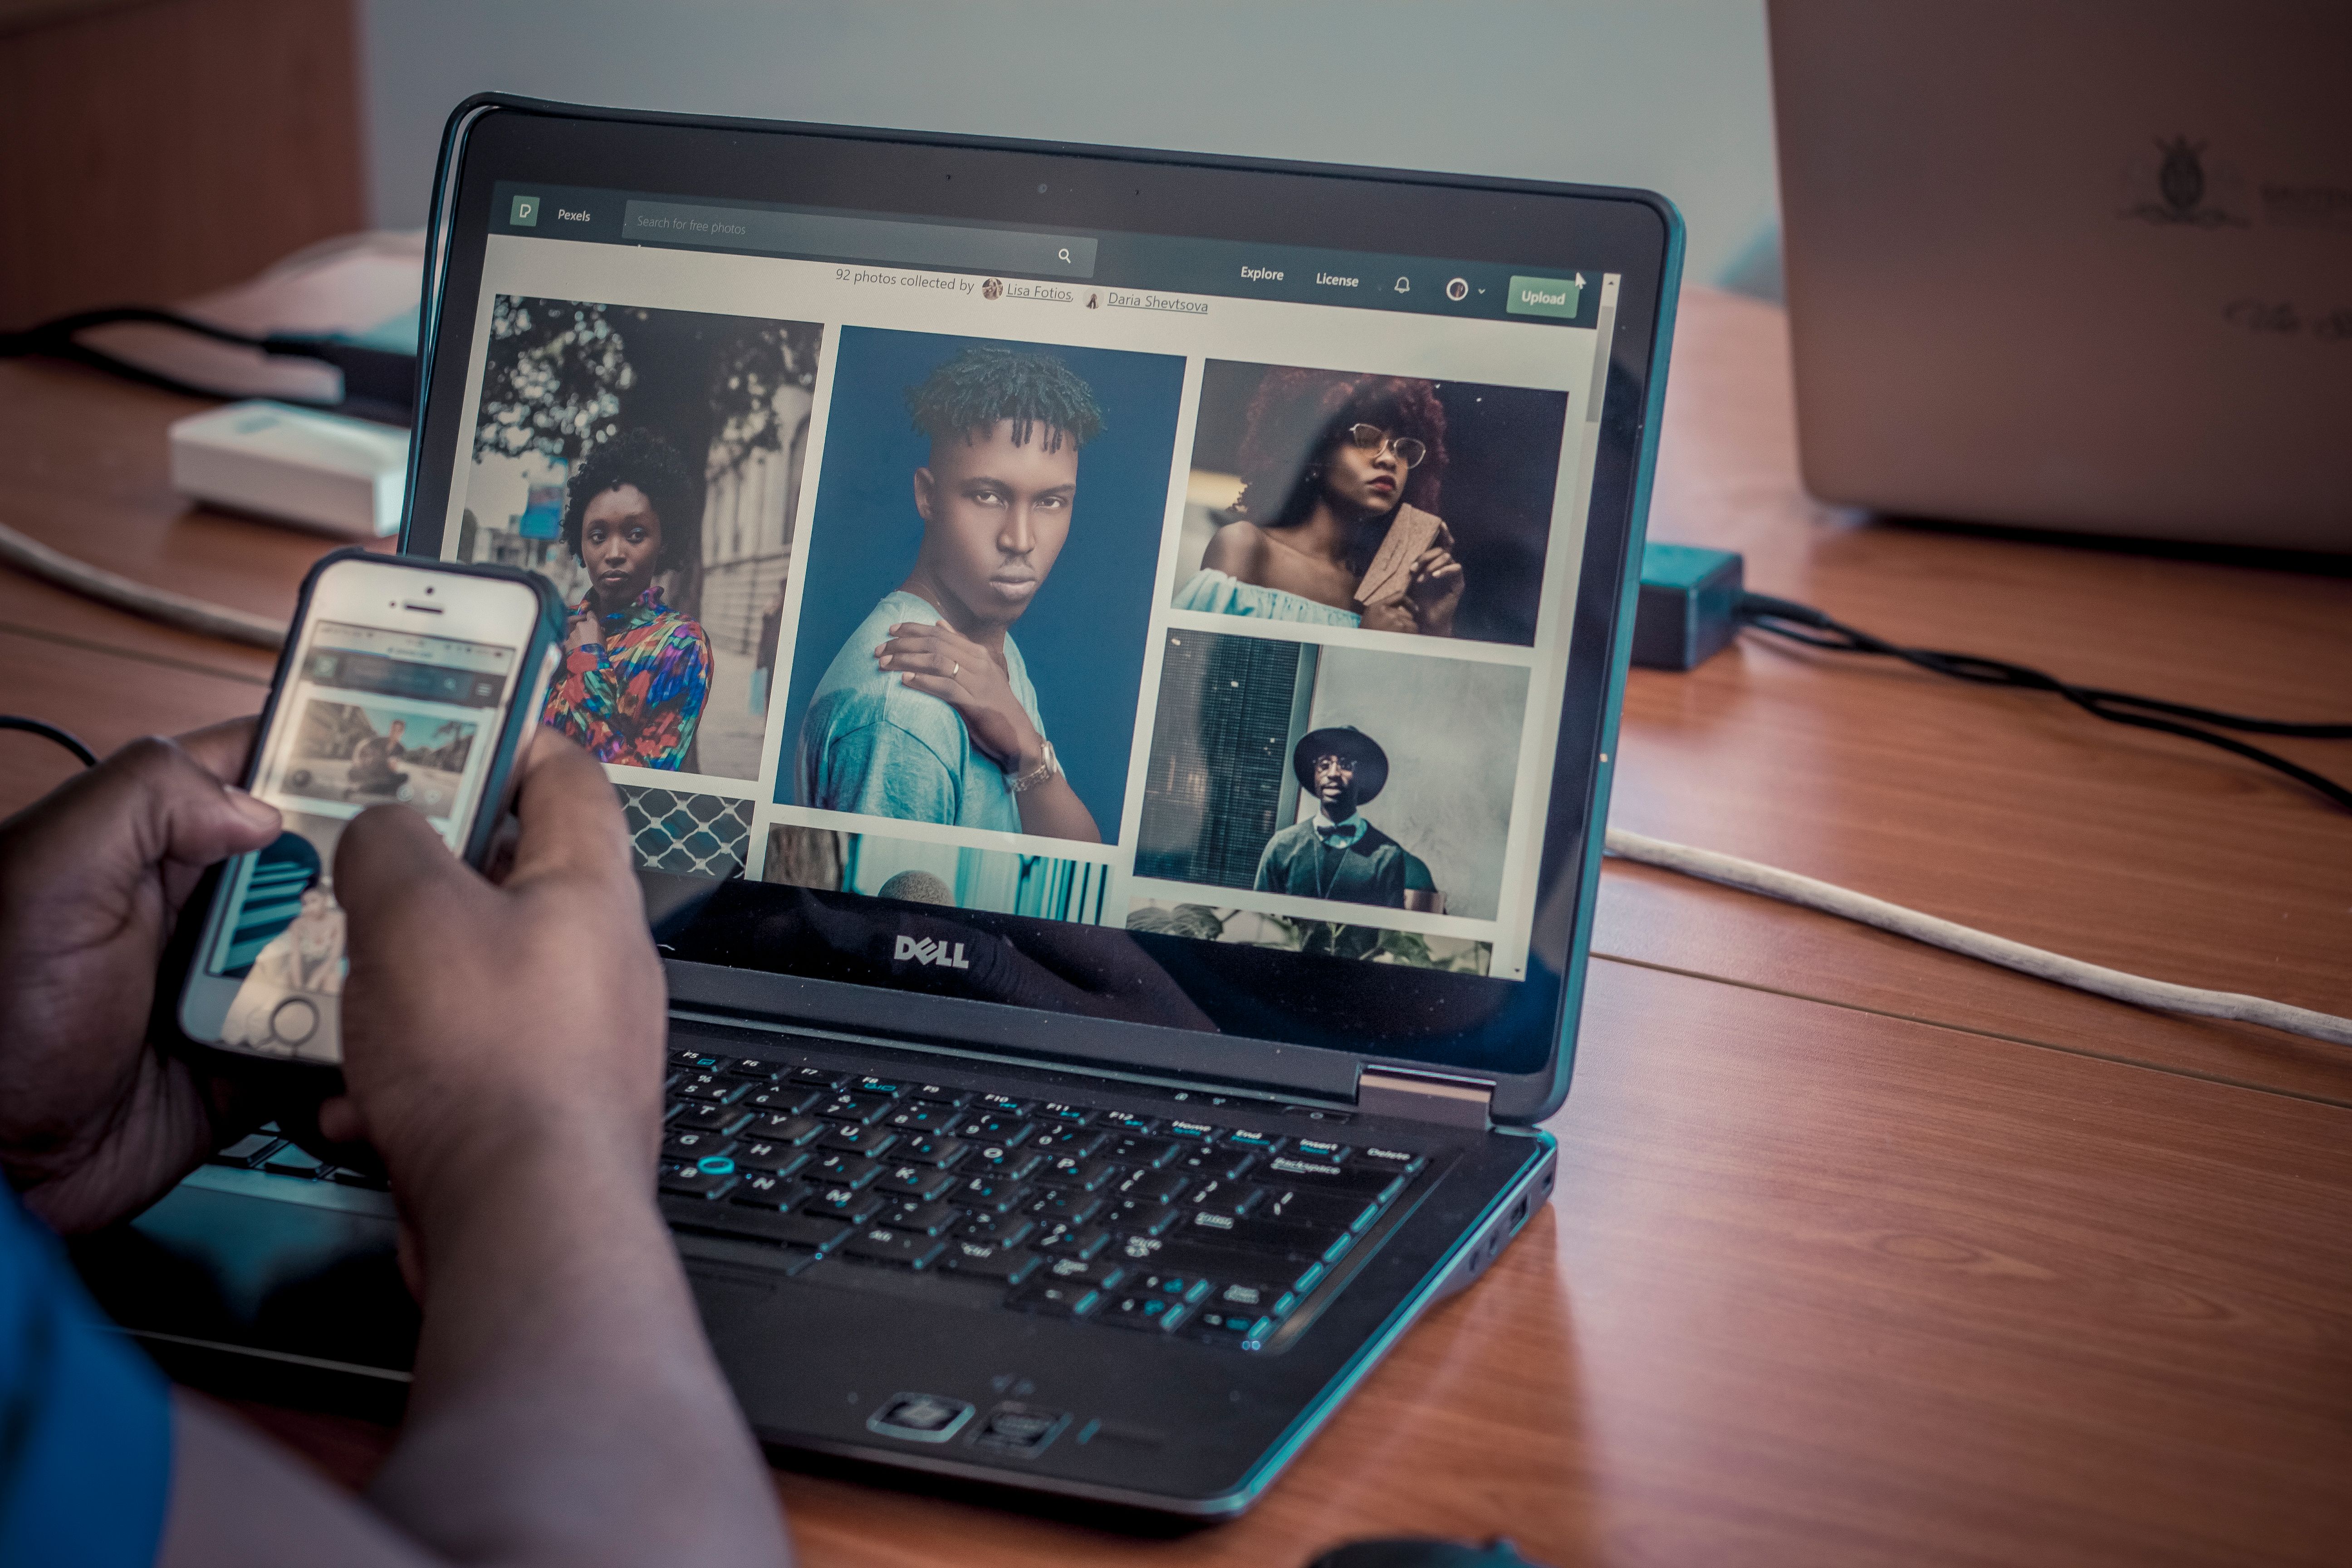
Before repeating the migration, examine the photo library on your old device. Check iCloud.com, the Hidden album, Recently Deleted, and any third-party services you previously used, such as Google Photos or Dropbox. If photos appear as thumbnails or fail to load, see our guide to iPhone photos not loading properly.
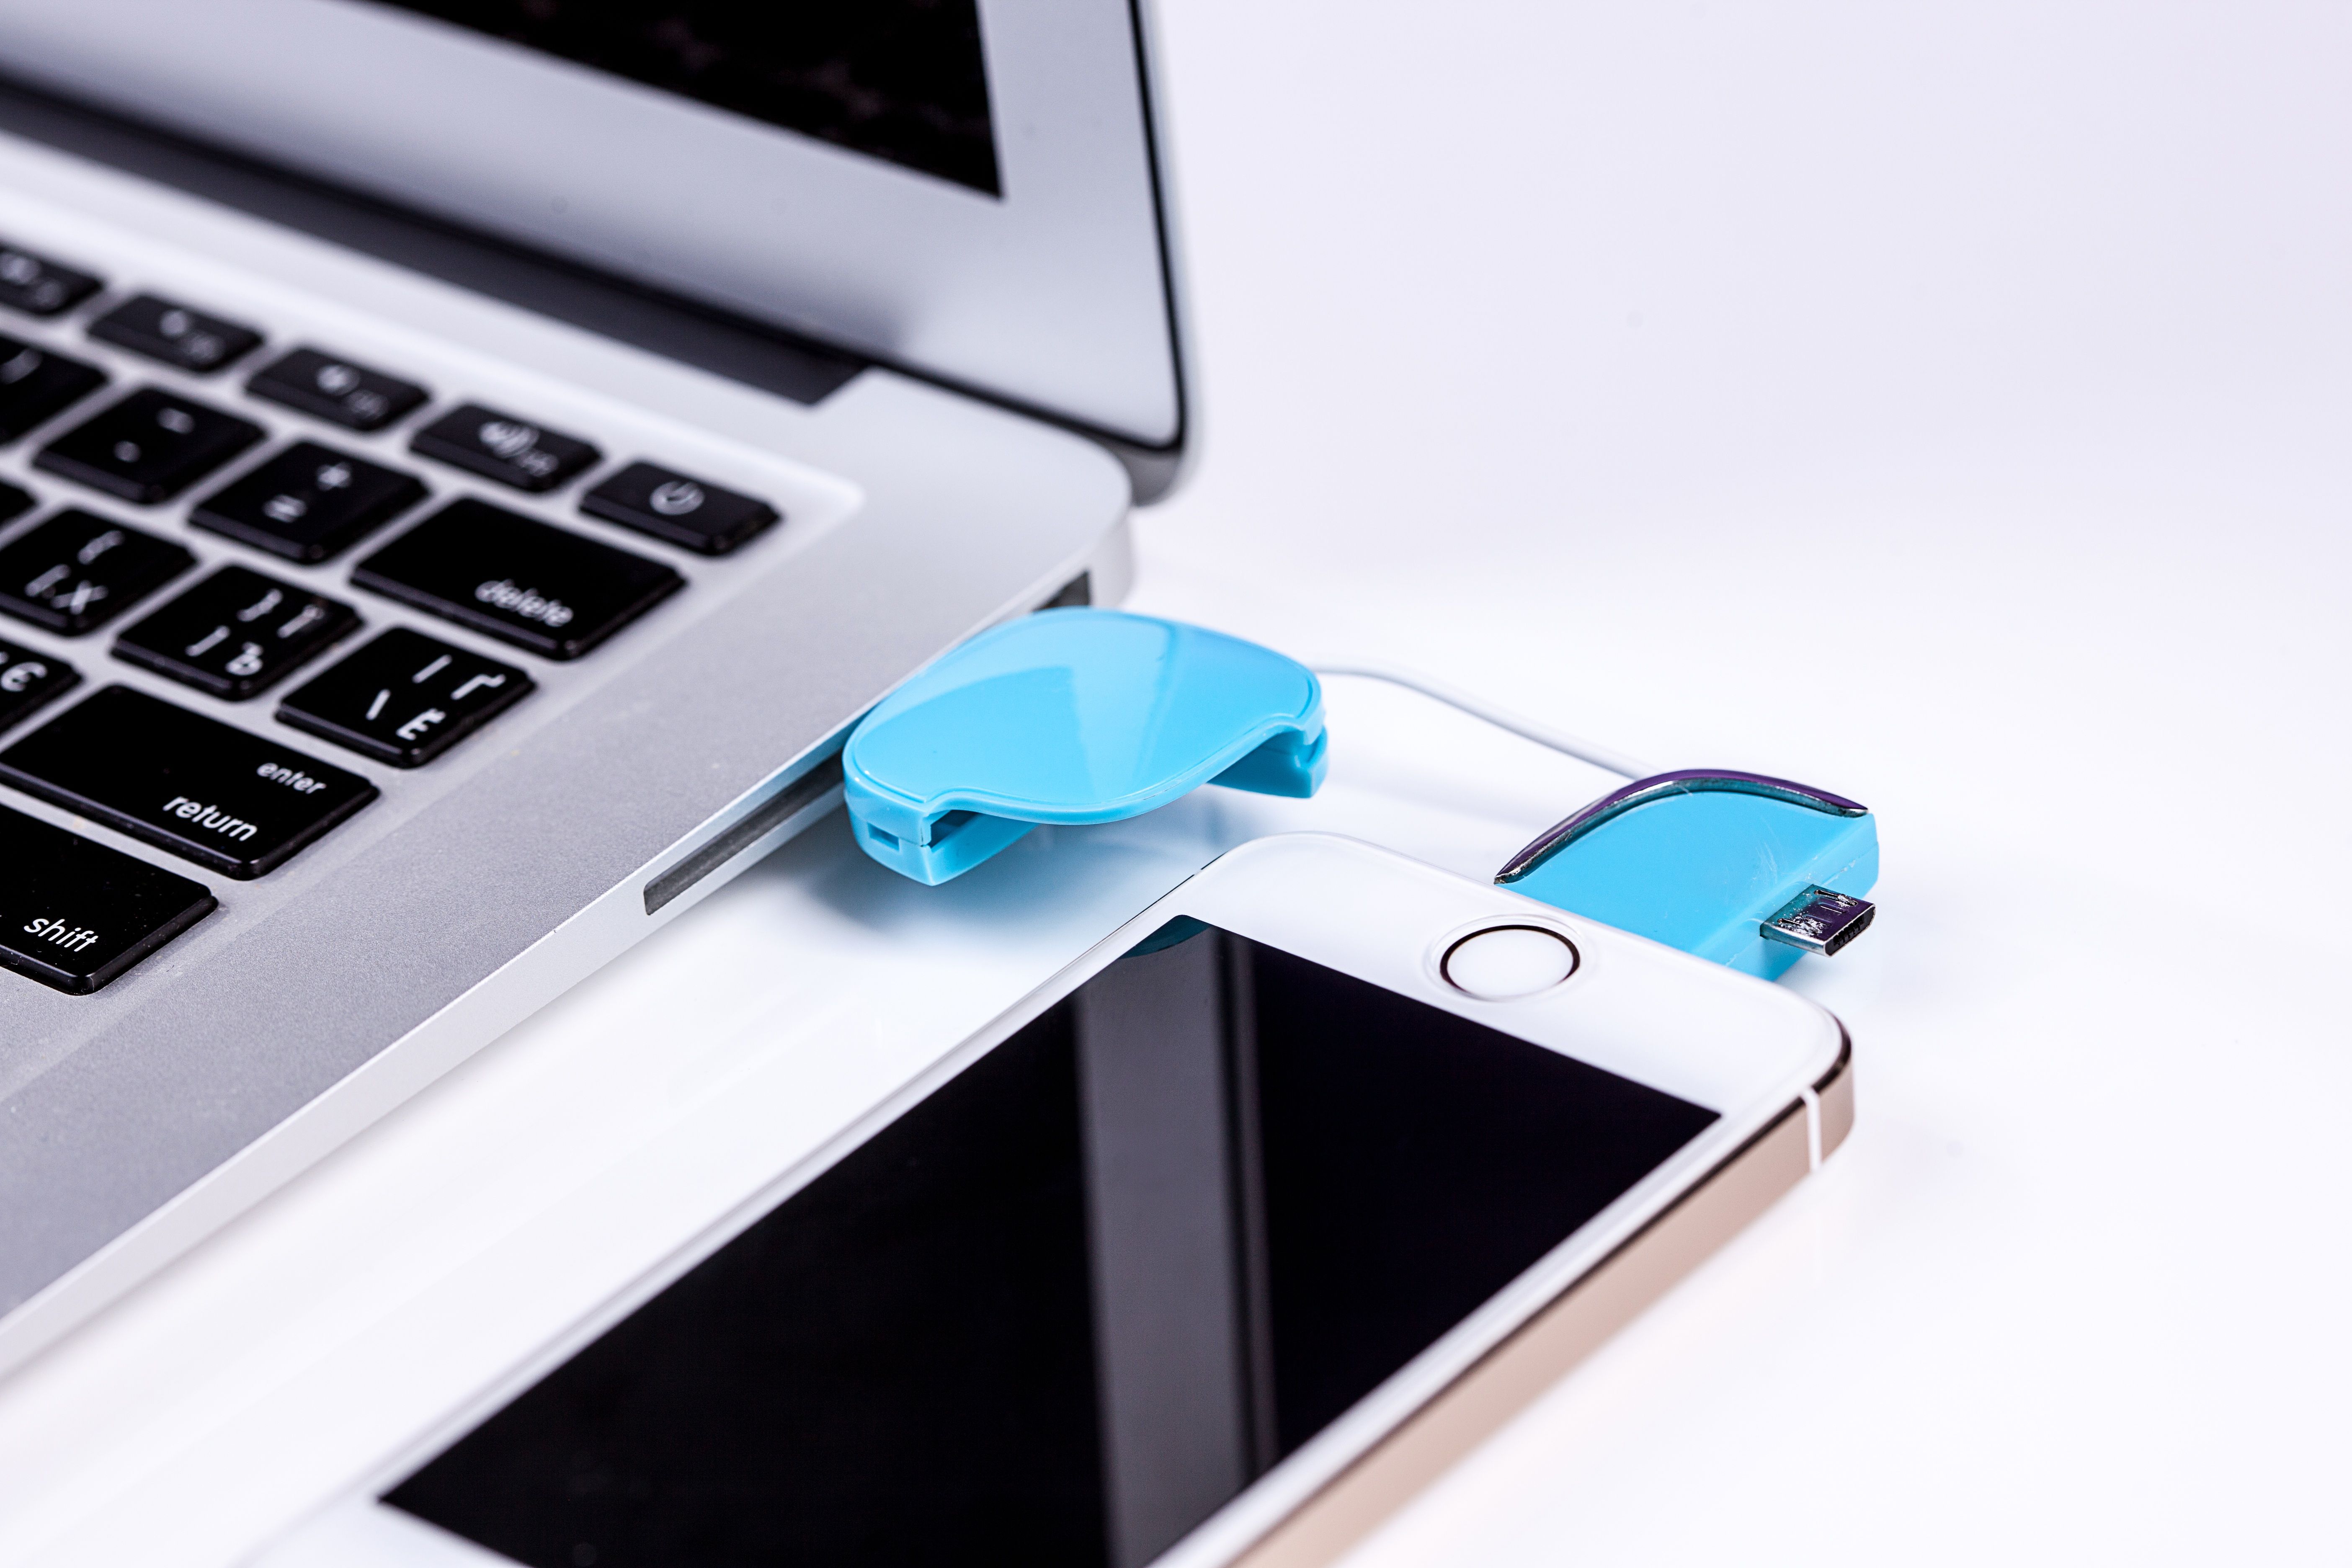
If the missing files cannot be located through these methods, dedicated iPhone data recovery software, such as Stellar Data Recovery for iPhone, may help identify recoverable photographs and videos on an accessible device or within an existing computer backup.
According to Stellar’s documentation, the software supports selective recovery, allowing you to preview individual files and save them without restoring an entire device backup.
The process involves connecting your old iPhone to a computer, choosing the relevant media categories, scanning the device, and saving recoverable items to your computer.
Stellar also offers a demo version that allows users to scan, preview, and recover up to 10 eligible photos or videos for free.
Recovery software is not a replacement for a successful transfer or a reliable backup. Its usefulness depends on whether the missing data is still accessible, particularly given the encryption mechanisms used by modern iPhones.
Transfer Selected Photos and Videos Using AirDrop
Not everyone wants to bring their entire photo library to a new phone. Perhaps you have thousands of screenshots, duplicate pictures, and old recordings that you would rather leave behind.
AirDrop works well when you only want to transfer selected media without resetting your new iPhone or restoring a backup.
Open the Photos app on your old device, select the items you want to keep, tap the Share icon, and choose AirDrop. Select your new iPhone as the destination.
If preserving image quality, metadata, and editing history is important, open Options in the sharing menu and enable All Photos Data.
For a few dozen photographs or individual large videos, AirDrop is particularly convenient. For an entire library containing thousands of files, Quick Start or iCloud Photos is generally more practical.
How to Transfer Photos and Videos From Android to a New iPhone
If your new iPhone is replacing an Android device, Apple provides a different migration process through its Move to iOS app.
Install the application on your Android phone and begin setting up your iPhone. When prompted to transfer existing content, select the Android transfer option and follow the instructions to connect both devices.
The supported content includes camera photographs, videos, photo albums, and WhatsApp media.
If your pictures are stored exclusively in Google Photos, you can also install the Google Photos app on your new iPhone and sign in to your existing Google account.
However, accessing photographs through Google Photos does not automatically add them to your Apple Photos library. You will need to download or transfer them separately if that is your preference.
How to Verify That Your Favorite Memories Transferred Successfully
Seeing thousands of thumbnails on your new iPhone does not necessarily mean that every original file is available.
Before erasing your old device, take a few minutes to perform these checks:
If you have selected the optimized storage option, temporarily disconnecting from the internet can also help establish which photographs and videos are available locally and which need to be downloaded from iCloud.
When Is It Safe to Erase Your Old iPhone?
Once you have verified your transferred media and created an independent backup of important files, you can prepare your old iPhone for sale, trade-in, or recycling.
Do not manually delete photographs one by one to clear the device. If iCloud Photos is still active, those deletions can affect your synchronized library.
Instead, follow Apple’s device trade-in preparation instructions, sign out of your account as appropriate, and use the Erase All Content and Settings option.
A proper device erase removes information from the old iPhone without deleting the content stored in iCloud.
Conclusion
Transferring photos and videos to a new iPhone should not mean risking years of personal memories. Quick Start works well for complete device migrations, iCloud Photos makes synchronized libraries accessible, and computer backups provide another option for locally stored data.
If something goes missing, investigate existing backups and recovery options before erasing your old phone.
You can replace an iPhone at any time. The photographs and videos you have accumulated over the years are considerably harder to replace.